Your cabin air filter has a significant impact on your car’s air quality. Like the filters in your house, it needs to be replaced regularly to ensure maximum efficiency. Fortunately, you can easily learn how to change your cabin air filter with this handy guide.
Signs of a Old Cabin Filter
Cabin air filters usually last about 15,000 miles. However, they may need replacement sooner if you live in an area with high pollution or lots of dust. If you’re not sure if you need to change out the filter, here are five signs it’s time.
1. Allergy Symptoms
Your filter catches many different types of particles:
- Dust
- Pollen
- Mold
Many of the above can cause allergies or respiratory distress. You may need a new filter if you experience any of the following symptoms while driving:
- Runny nose
- Itchy eyes
- Difficulty breathing
2. Whistling Noise
When your filters aren’t doing their job, your AC fan has to work harder. This can result in a whistling noise when you turn the air on.
3. Foggy Windows
When the weather is rainy or cold, your windows may fog. Your AC is instrumental in clearing it away. If the process takes longer than usual, you may need a new filter.
4. Reduced Airflow
Is your AC not cooling you off as well as it used to? A bad air filter may be the problem. Once air filters are filled, it’s difficult for air to move through, resulting in reduced airflow.
5. Bad Smells
The particles your filter catches can smell bad, and when they accumulate, you’ll start to notice. If there’s a musty, dusty or just plain bad odor when you run the air, a dirty filter may be to blame.
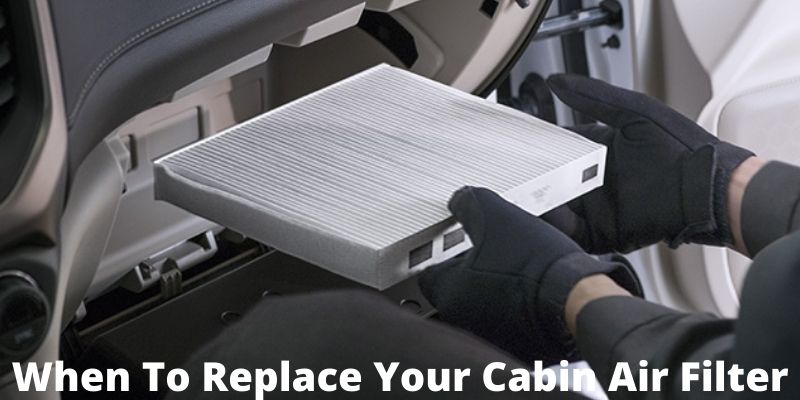
How To Replace Your Cabin Filter
Replacing the cabin filter is easy maintenance that most people can do in their garage and for that you needs screwdriver and a vacuum.
1. Get a New Filter
The first thing you need is a new filter. You can buy one at your local car parts store. Make sure the filters you choose are compatible with your vehicle. If you’re not sure which type you need, the owner’s manual should tell you.
2. Remove Glove Box
Next, you need to remove the glove box. You can do this by first removing the pin with a screwdriver, then gently pulling the glove box down until it comes to a stop. Now You are able to access the filter.
3. Remove Dirty Filter
To remove the filter, take off the housing cover. You can then slide the filter out.
4. Install Clean Filter
Before installing the new filter, use a hand-held vacuum or a vacuum attachment to remove dust from the housing. Then, slide the clean filter into place and put the housing cover back on.
5. Reinstall Glove Box
Finally, fit the glove box back and replace the pin. It should look exactly like it did before.
Replacing your cabin air filter not only makes you and your passengers more comfortable but can also positively affect your health. Doing this small bit of maintenance can improve your commute and give you a sense of pride in your vehicle.