The YouTube Video Editor came up in the market in September 2011. During the initial days after its release, the application featured some restricted functions; however, with gradual updates, it took a versatile shape. The fact is, today, one can use this application for free, and the editor features compatibility with PCs, Mac, as well as Chromebooks. Besides, there is the app version as well. Let’s explore how this free slideshow maker adds value to the process of creating online videos.
The top reasons to try the YouTube Editor
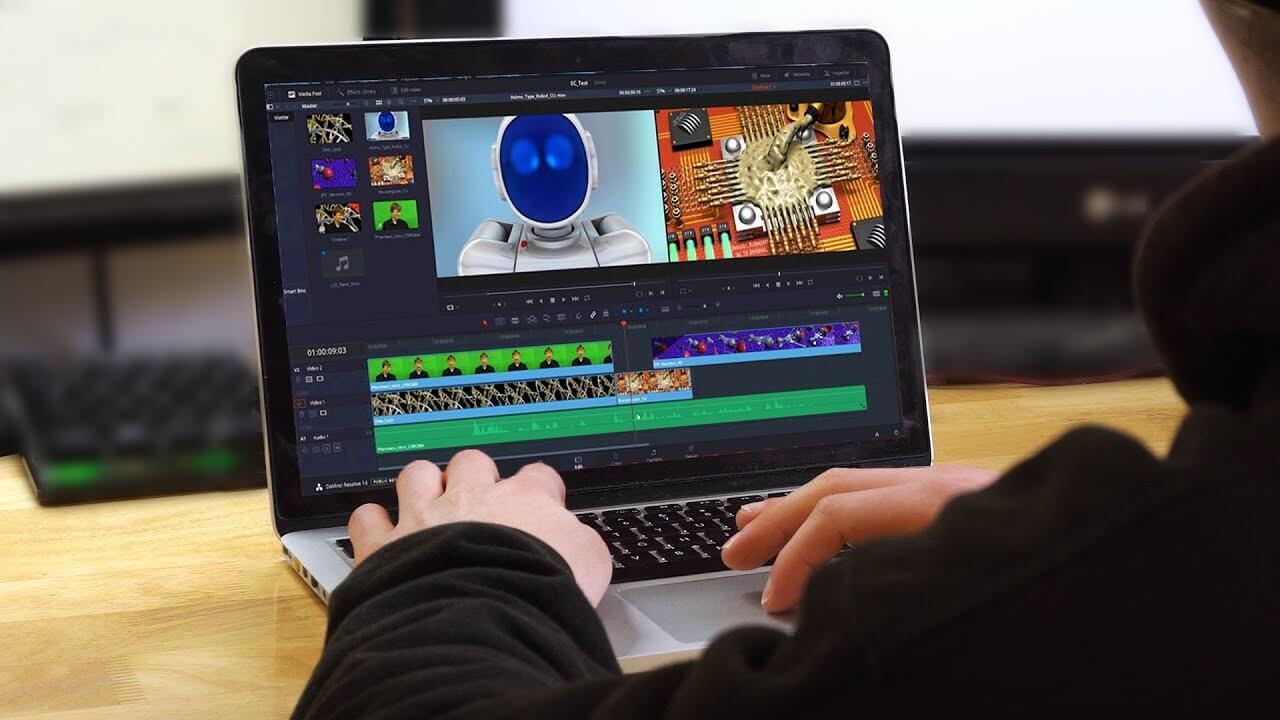
This is the most useful editor that you will ever come across. But, this free editor comes with the basic tools for editing that you might need to create a professional video. As this tool works online, users can use it anywhere they want, just if they are connected to the internet.
This editor is extremely user-friendly, and the majority of the users take the minimum time to adapt to its features and functions. Besides, you will get some fascinating sharing alternatives that come inbuilt. On the whole, you will unquestionably find this editing tool impressive, and it is going to extend some effective assistance in creating as well as editing your YouTube Videos by clicking here youtube downloader mp3.
An overview of the functionality of the Editing tool
To start working with this tool, you need to login to your account, and then, you need to upload the clips that are to be used in this editing tool. Users can accomplish this task by hitting the Upload button. This button will be found at the top right-hand corner of the screen.
Though the next step is up to the matter of choice, however, users should ideally give a try to it. Doing so, they can escape the chances to become publicly spottable on YouTube. What is the reason to do it? Well, doing this, you get the opportunity to do the necessary editing works, before you make the video public. Setting the privacy setup for your videos is certainly an excellent way to drive a protective shield over the videos until the video gets the right form to be exposed before the mass.
After you have uploaded the video to YouTube successfully, comes the time to use the editing tool. But, it is certainly a stiff task to find the editor. Here comes your guide in that regard:
- You need to click on the profile picture that you will find on the right-hand corner at the top.
- Click on the YouTube Studio tab
- On your left, you will see a sidebar. You need to click on this video on this sidebar.
- To edit a video of your choice, you have to click on the title.
- Once you are on the screen for Video Details, you have to click on the Video Editor.
Steps for trimming a YouTube Video
Sometimes, you will need to trim a video from the start or at the end. With the free online video editor for YouTube, you can complete this task putting the least effort and time.
- You will find a Blue Trim tab above your timeline. You need to click on this tab.
- Move the cursor over the beginning of the video or the end, till the time it is turning into 2 horizontal arrows.
- Now, you need clicking and dragging the blue bar at the start or at the end of the video for trimming it.
- Once done, click on the preview tab that will display the outcome of editing.
- In case you aspire to adjust the trimming points, you need to click on the Edit Trim tab. Else, you need to save the edited video.
How to split and eliminate Clips?
When you decide to split a Video with this editing tool, it is possible to eliminate a section from the midpoint. This is the way users usually adjust their mistakes with a video or to reduce the length of a video. For splitting a video, you require using the same control that is usually used for trimming a video.
- Hit the Blue trim Button that you will explore above the video timeline
- Start moving the White bar to the desired point on the video, where you aspire to make the initial cut.
- Now, hit the split tab that you will find on the Blue Bar lying at the bottom of your screen.
- Drag the white bar to the point from where you aspire the video to resume. Modifications made to the video can be previewed, by merely moving the mouse over the preview, and then, you need to hit the play button.
If you aspire to make adjustments with the split points, you need to click on the Edit Trim tab, then click on the save button to save the edits made.
Adding Music Tracks to YouTube Videos
By this time, you are well aware of the beautiful collection of free music that you can add to your videos on YouTube. It is possible to make such additions from the editor directly. Here is how you need to do it:
- You need to click on the Drop-down arrow that lies next to the Music Icon. Doing this, you are going to expand the audio track.
- Now, click on the Audio Link that will open the audio library in a new tab.
- Clicking on the Mood Tab or the Genre Tab you can filter the music tracks available.
- Next, take a preview of the track of your choice; you need to click on the play button.
- Once you find the track of your choice, you need to click on the add tab for adding the track to the video.
This video editing tool has undoubtedly made it easier to edit YouTube videos, Ensuring that you can adjust the downsides immediately, preventing any chances of wrong messages being delivered to the target audience.