Losing important files on your system could be really annoying when you don’t know how to retrieve them. But, don’t worry, we are here to help you with this. In this guide, we have discussed multiple ways to help you restore permanently deleted files in an easy & safe method. It includes using built-in utilities and using third-party best data recovery software both. Let’s discuss more here.
How to recover deleted files on Windows
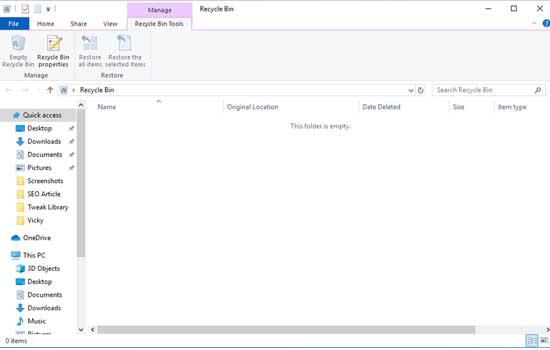
Before we talk about how to recover permanently deleted files on Windows, let’s how to recover deleted files on your PC. These files include files that you moved to recycle bin. To recover these deleted files from recycle bin, follow these steps:
- Open system Recycle Bin.
- On Recycle Bin window, go to the menu and select Manage option.
- Here, choose “Restore all items”.
In addition to that, you can also restore selected files from here. To do this, simply select the files that you want to restore and press “Restore the selected items” option from the Manage menu.
How to recover permanently deleted files on Windows
Now that you know how to restore deleted files from system recycle bin, let’s explore how to recover permanently deleted files on your PC. To do this, you can use built-in utilities and options on your system. Permanently deleted files include files that you shift deleted or emptied your system recycle bin after deleting them. To do this, follow these steps:
Use Previous Versions
Windows helps you store the previous version of each file on your system to help you retrieve it when needed. Here, you can restore permanently deleted files using the Previous Version of the file. To do this, you should remember the file name that you have deleted. Unless you don’t know the file name, you won’t be able to restore file using this feature.
Before you use this option, File History option should be enabled on your PC. To enable File History on Windows 10, follow these steps:
- Go to Start menu > Settings.
- Select Update & Security > Backup.
- Connect the external hard drive on your PC on which you want backup.
- Tap on “+Add a drive” option below “Back up using File History”.
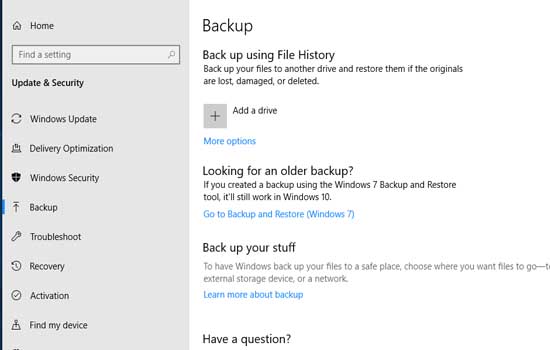
Here, you need to select an external drive for backup when prompted. Select the external drive in said case.
That’s it. File History now will start archiving your data.
Now that you have your files backup, it’s time to retrieve them. To restore permanently deleted files using File History, follow these steps:
Step 1: Connect the hard drive on which you took the backup. Here, search the file path that you want to restore.
Here, it will display you files in the most recent backup of the selected folder.
Step 2: Once you have selected the file path to locate the file or folder that you removed on your system, simply click on the “Previous” button. Now you need to select the file from given options that you want to retrieve.
Now that you have selected the file to recover, press green Restore button to get it back on your PC.
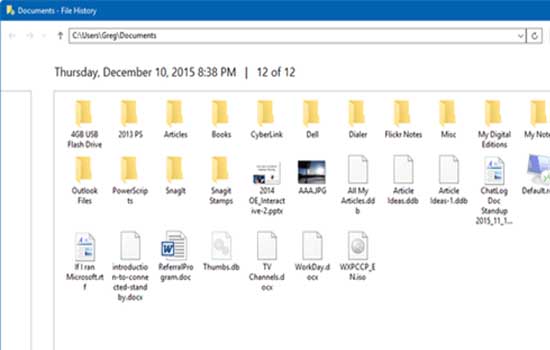
Step 3: If it displays a pop-up that says the file or folder already exist on the destination, then click on “Replace the file in the destination” option. It will restore the selected file instantly to its original location.
Try Windows Backup to Restore Permanently Deleted Files
This is another quick method you can follow to recoverdeleted files. Pre-requisite to use this option is that, you had taken the backup already on your PC.
Let’s presume you have backup on your system, follow these steps to recover permanently deleted files on your PC.
- Go to Start menu > Settings.
- Select Update & Security > Backup.
- Select “Go to Backup and Restore (Windows 7)” option.
- Tap on “Restore my files” option.
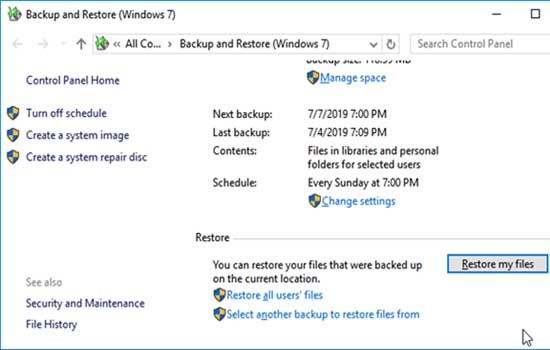
Here, you need to select one option from “Browse for files” or “Browse for folders”. Once you select one of these options, it will allow you to select the backup of the file or folder you previously set.
Now you need to choose the location to store the file. You can select from “In the original location” or “In the following location” options.
If you are not able to restore files easily, select from one of these options:
- Copy and Replace
- Don’t Copy
- Copy, but keep both files
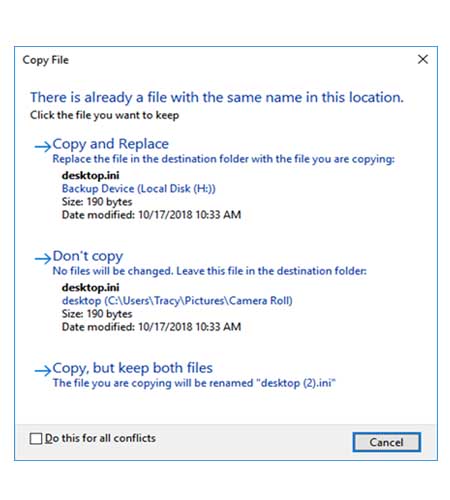 Let it complete the restore process.
Now it will restore all selected files to its original or selected location.
In case you haven’t created the backup before on your system, then follow these steps to do that.
- Go to Start menu > Settings.
- Select Update & Security > Backup > Go to Backup and Restore (Windows 7).
- Now a new window will pop-up. Here, click on “Set up backup” option.
On the next window, select the drive on which you want to create backup and follow the onscreen instructions.
Use Best Data Recovery Software
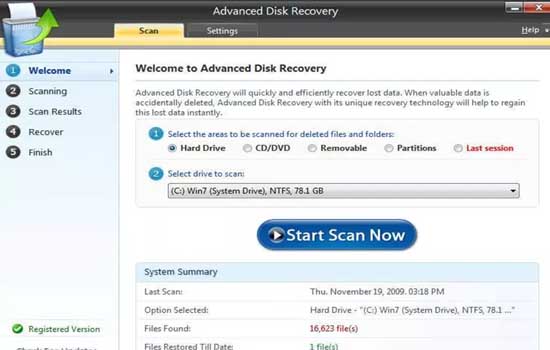
The next solution to recover permanently deleted photos on your PC is to use best data recovery software. These smart tools work on advanced techniques to help you recover all types of files easily in a secure manner. One such tool is Advanced Disk Recovery that offers tons of useful features to help you recover all types of deleted files on your Windows system. This smart tool works automatically to save lots of your time and reduce manual intervention.
Features of Advanced Disk Recovery
- It supports recovering all types of files including photos, videos, documents, audio files, and more.
- It helps you recover files from both internal & external device storage.
- Data Recovery Software offers Quick and Deep scan option to help you recover files even from the remotest corners of your device storage.
- It allows you to save the session when you are performing deep scan. Here, this session could be resumed later easily.
- It works on simple & intuitive interface to offer seamless user experience.
Following above-mentioned steps, you can easily recover permanently deleted files on your Windows system. Once tried, don’t forget to share your experience with others in the comments below.

